ELOG Page: Difference between revisions
No edit summary |
No edit summary |
||
| Line 22: | Line 22: | ||
= Purpose = | = Purpose = | ||
The purpose of a [[mhttpd]] ELOG Page is to visually present the Built-in [[Electronic Logbook (ELOG)]] for the experiment. | The purpose of a [[mhttpd]] ELOG Page is to visually present the '''Built-in''' [[Electronic Logbook (ELOG)]] for the experiment. If | ||
an '''External''' Elog has been installed, the ELOG Page will display the external ELOG instead | |||
(see [[#External Elog|External Elog ]] below). | |||
= Access to the ELOG Page = | = Access to the ELOG Page = | ||
| Line 30: | Line 32: | ||
;Note | ;Note | ||
:If "Elog" button is not present on the Status Page, it may have been [[Status Page#page-switch-buttons|suppressed]]. | :If the "Elog" button is not present on the Status Page, it may have been [[Status Page#page-switch-buttons|suppressed]]. | ||
= Features of the Elog page = | |||
= Features of the '''Built-in''' Elog page = | |||
{| style="text-align: left; width: 100%; background-color: rgb(255, 255, 255);" border="0" cellpadding="2" cellspacing="2" | |||
|+ Click on a thumbnail to enlarge | |||
|- | |||
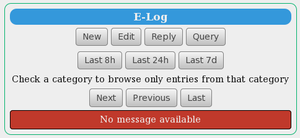
| [[File:Elog_initial.png|thumb|left|Figure 1: Initial ELOG Page example]] | |||
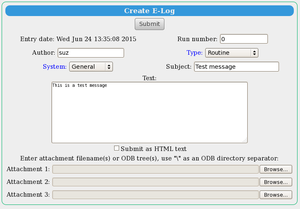
| [[File:Elog_createnewmsg.png|thumb|left|Figure 2: Create a new ELOG message]] | |||
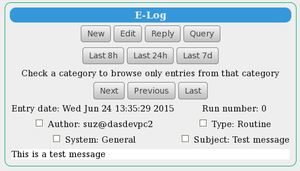
| [[File:Elog_newmsg.png|thumb|left|Figure 3: A new ELOG message has arrived]] | |||
|} | |||
The first time the <span style="color: #444444; background-color: #CCCCCC; font-style:italic; | |||
font-size: 90; padding:0.25em; | |||
padding-left: 0.5em;padding-right: 0.5em;border:1px solid #808080;border-radius: 5px;margin-bottom:1px;">ELOG</span> button | |||
is pressed, the Elog page will appear as in Figure 1. | |||
The appearance of the Elog Page can be customized by editing keys in the [[/Elog ODB tree]] . By default the run number appears in the message, and users are not allowed to delete messages. The drop-down list of '''Type''' and '''System''' also contain defaults, all of which are controlled by keys in the [[/Elog ODB tree]]. Also controlled by keys in the {{Odbpath|path=/Elog}} ODB tree, | |||
Elog can be configured to send out email when messages are added to the Elog. Messages can be added to the Elog by a script using the [[melog]] utility. | |||
Pressing the <span style="color: #444444; background-color: #CCCCCC; font-style:italic; | |||
font-size: 90; padding:0.25em; | |||
padding-left: 0.5em;padding-right: 0.5em;border:1px solid #808080;border-radius: 5px;margin-bottom:1px;">New</span> button | |||
will allow you to create a new message. The Author field is required. Select a Message Type and System from the drop-down list. Files can be attached if desired (see Figure 2). | |||
Figure 3 shows that the new message has arrived. | |||
==External Elog == | |||
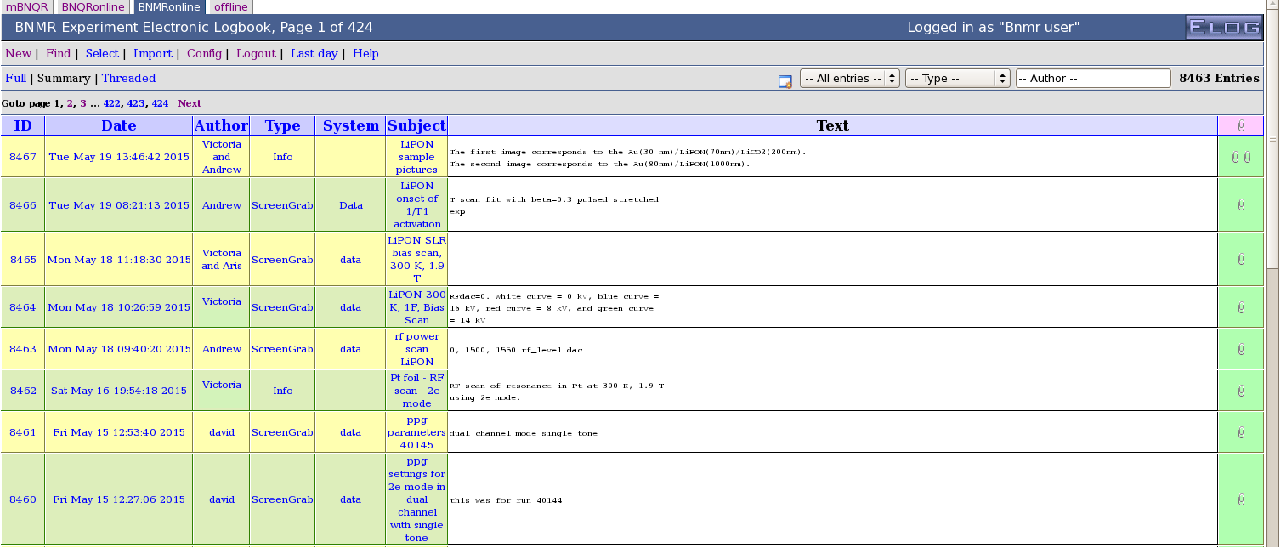
If an External Elog has been [[Electronic Logbook (ELOG)#Installation of External Elog|installed]], the external elog will be displayed (Figure 4). | |||
[[File:External_elog.png|left|Figure 4: External ELOG Page example]] | |||
<br clear=all> | |||
[[Category:mhttpd]] [[Category:ELOG]] | [[Category:mhttpd]] [[Category:ELOG]] | ||
Revision as of 23:44, 26 June 2015
Links
Purpose
The purpose of a mhttpd ELOG Page is to visually present the Built-in Electronic Logbook (ELOG) for the experiment. If an External Elog has been installed, the ELOG Page will display the external ELOG instead (see External Elog below).
Access to the ELOG Page
The ELOG Page is displayed by clicking on the ELOG button on the mhttpd Status Page or other mhttpd web page.
- Note
- If the "Elog" button is not present on the Status Page, it may have been suppressed.
Features of the Built-in Elog page
The first time the ELOG button is pressed, the Elog page will appear as in Figure 1.
The appearance of the Elog Page can be customized by editing keys in the /Elog ODB tree . By default the run number appears in the message, and users are not allowed to delete messages. The drop-down list of Type and System also contain defaults, all of which are controlled by keys in the /Elog ODB tree. Also controlled by keys in the
/Elog ODB tree,
Elog can be configured to send out email when messages are added to the Elog. Messages can be added to the Elog by a script using the melog utility.
Pressing the New button
will allow you to create a new message. The Author field is required. Select a Message Type and System from the drop-down list. Files can be attached if desired (see Figure 2).
Figure 3 shows that the new message has arrived.
External Elog
If an External Elog has been installed, the external elog will be displayed (Figure 4).


